Creating survey forms
This article will walk you through the steps for creating a survey and the most important features in the survey editor in detail.

Santeri
Last Update 2 เดือนที่แล้ว
Getting started
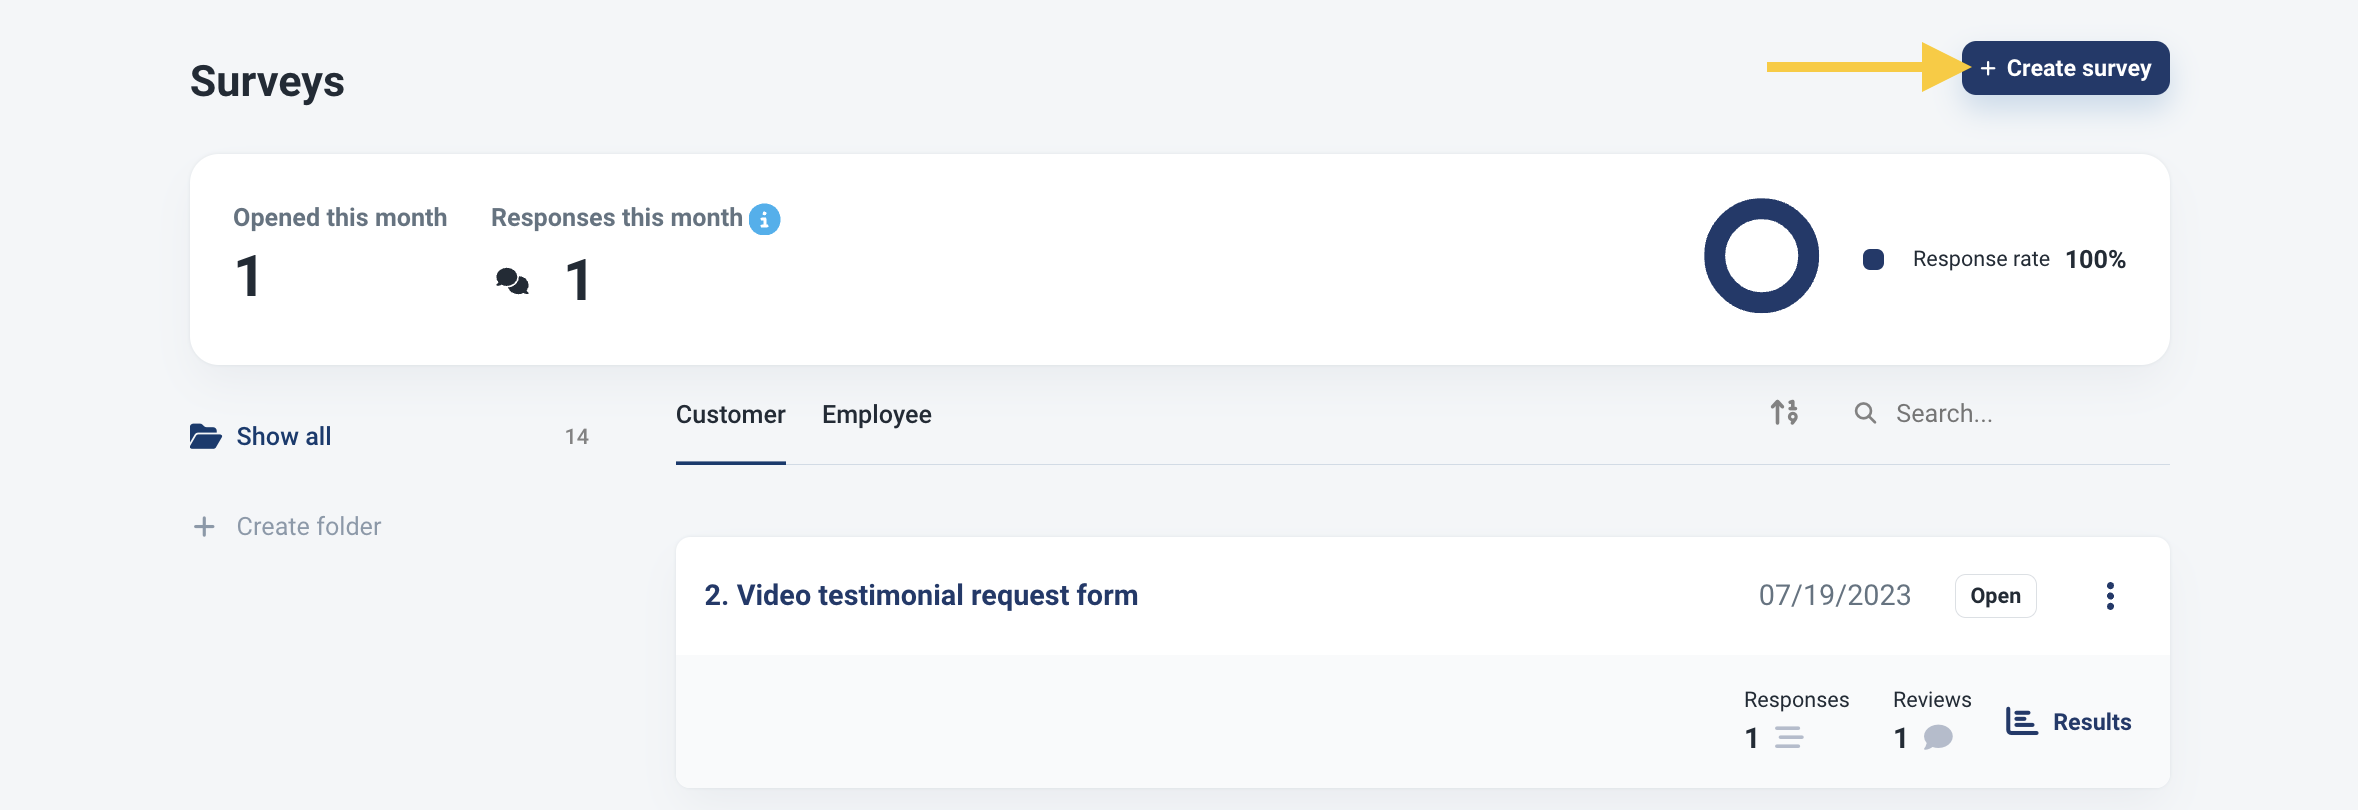
To create a new survey, navigate to Surveys on the navigation pane on the left and click Create survey.
Preview and templates
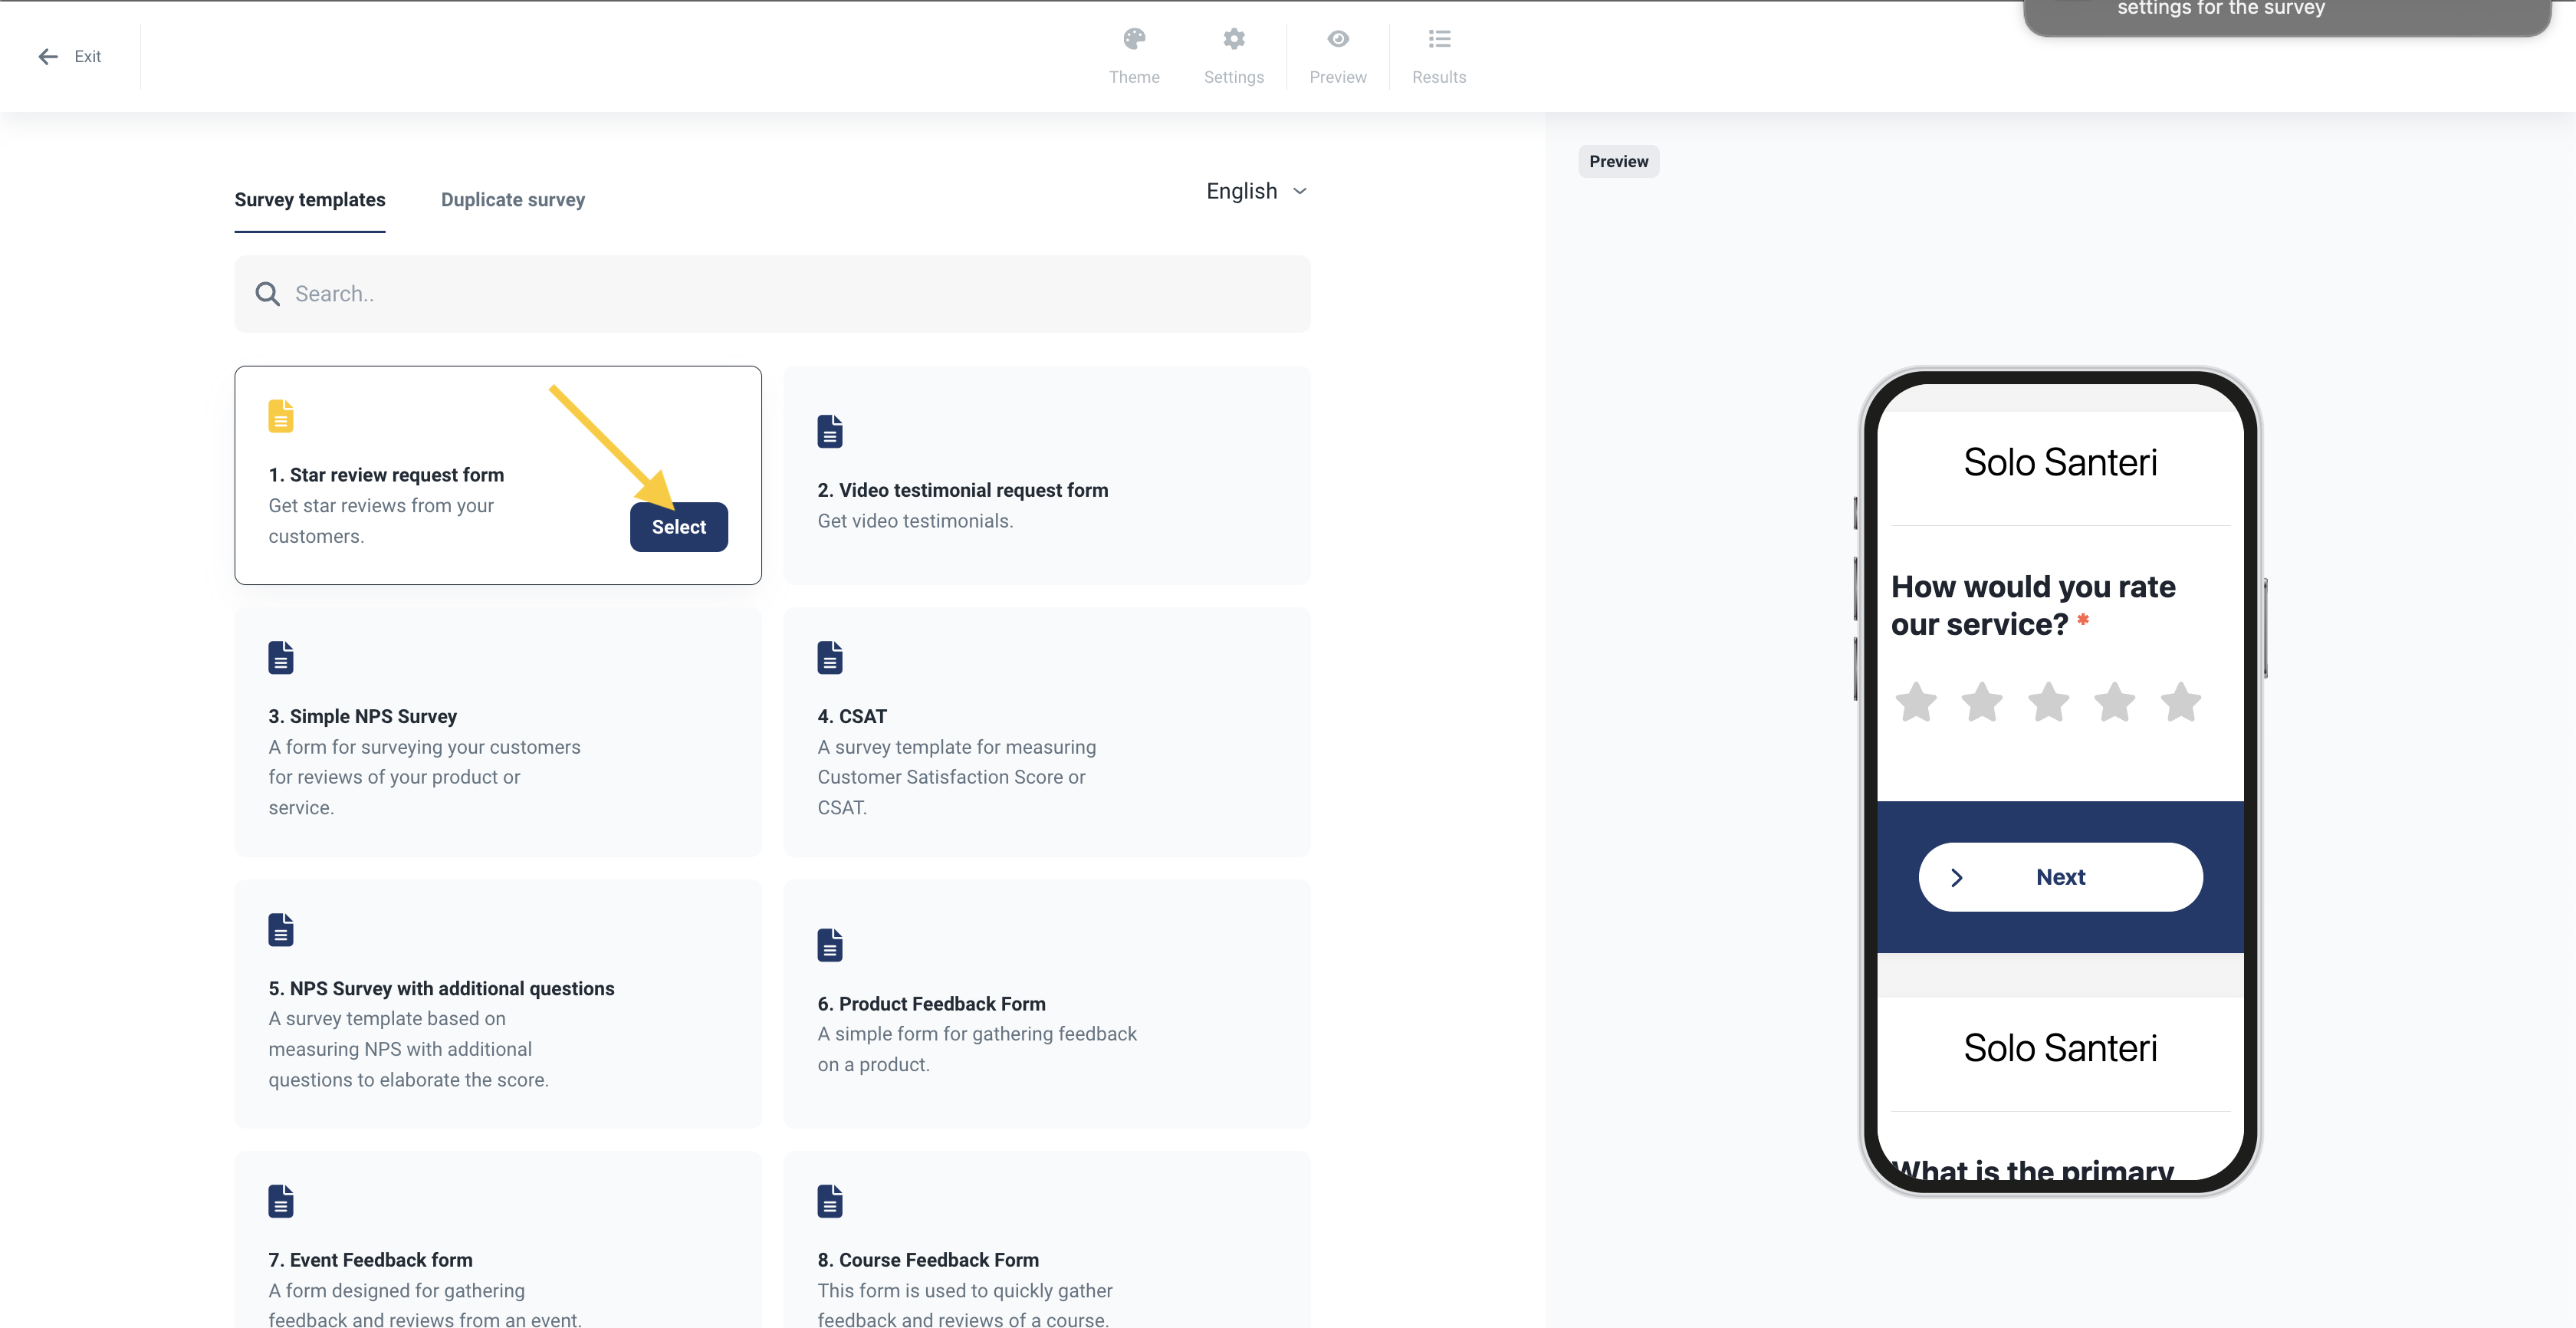
In the next stage, you can see all the survey templates on the left. You can also select the language of the template by using the drop-down list near the top.
On the right, you can see the preview of your survey. When you've found a suitable template, start editing it by clicking Select.
Survey editor
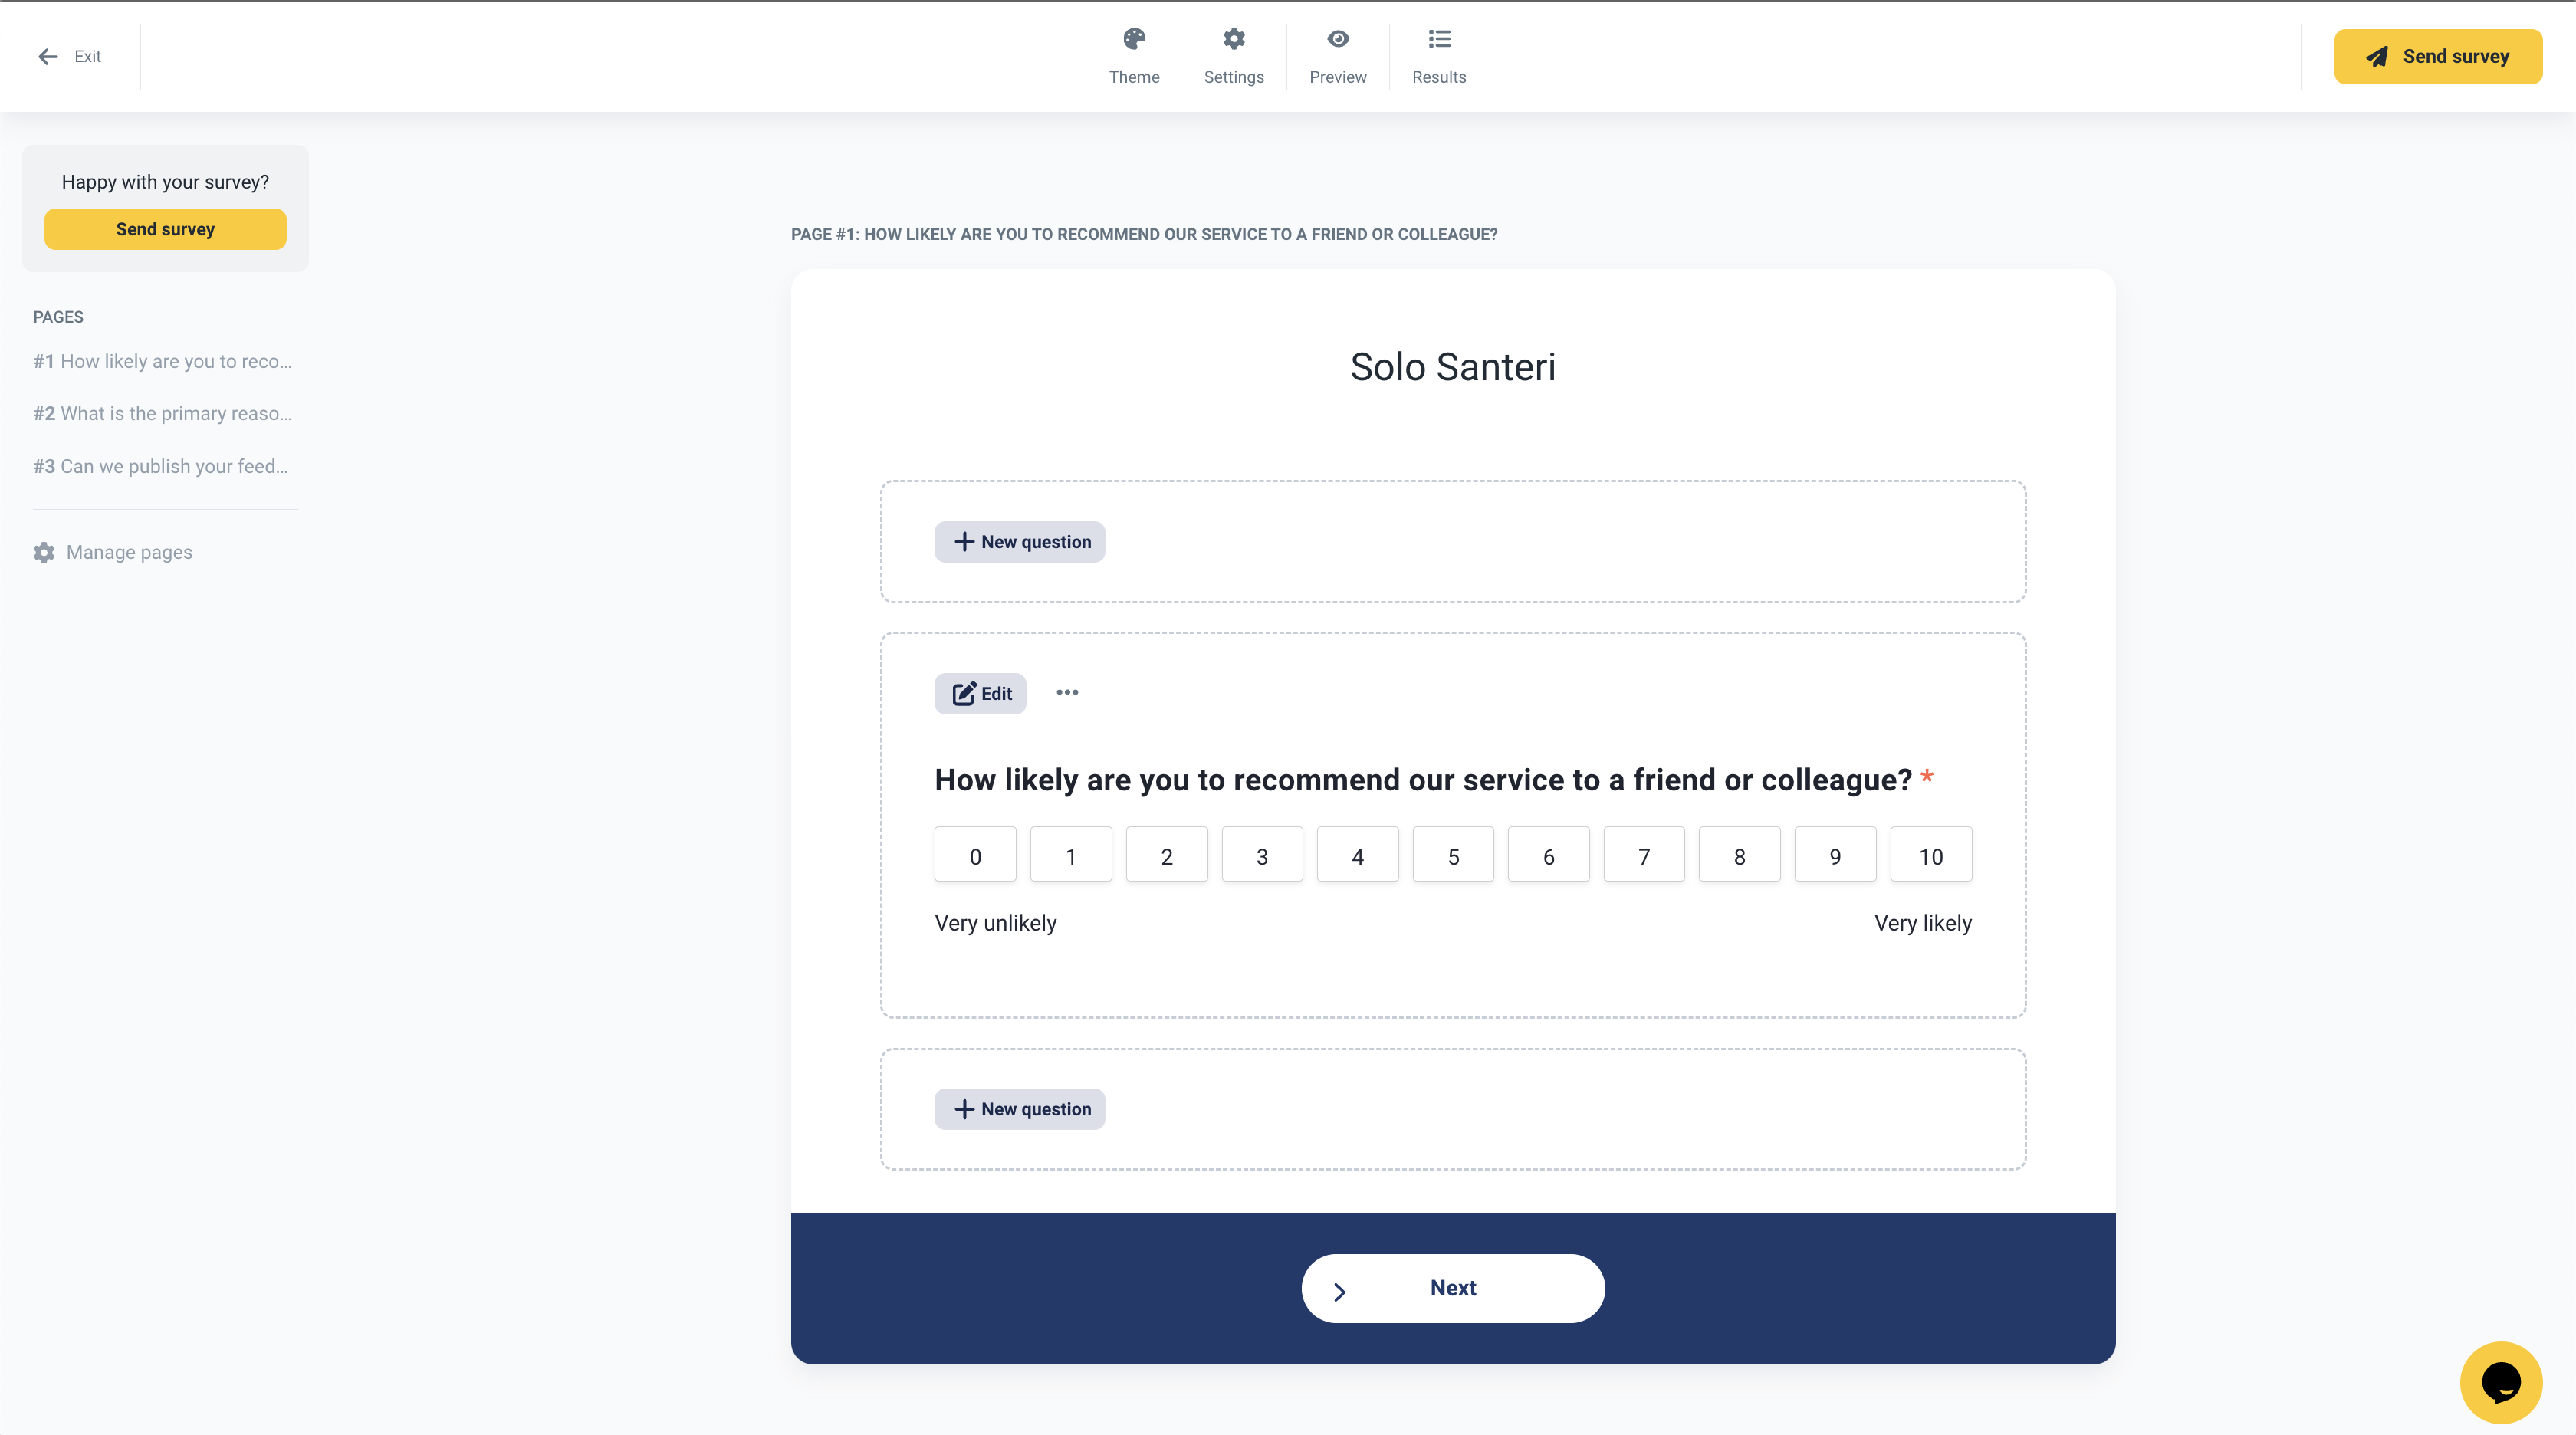
In the next step you can start editing the survey and eventually send it. In this view you can see the survey preview in the middle, Send survey buttons on the left and right, and the settings tabs in the top. You can also manage the pages in multi-page surveys from the left side.
Theme tab
Clicking this tab opens up the theme sidebar where you can edit the appearance of the survey. You can for example set a logo, select colors for the form and background, and select a font.
Settings tab
In the settings tab you can edit the more advanced settings of your survey. You can for example name the form, open or close it, set reviews to autopublish, and select where to send email notifications about answers.
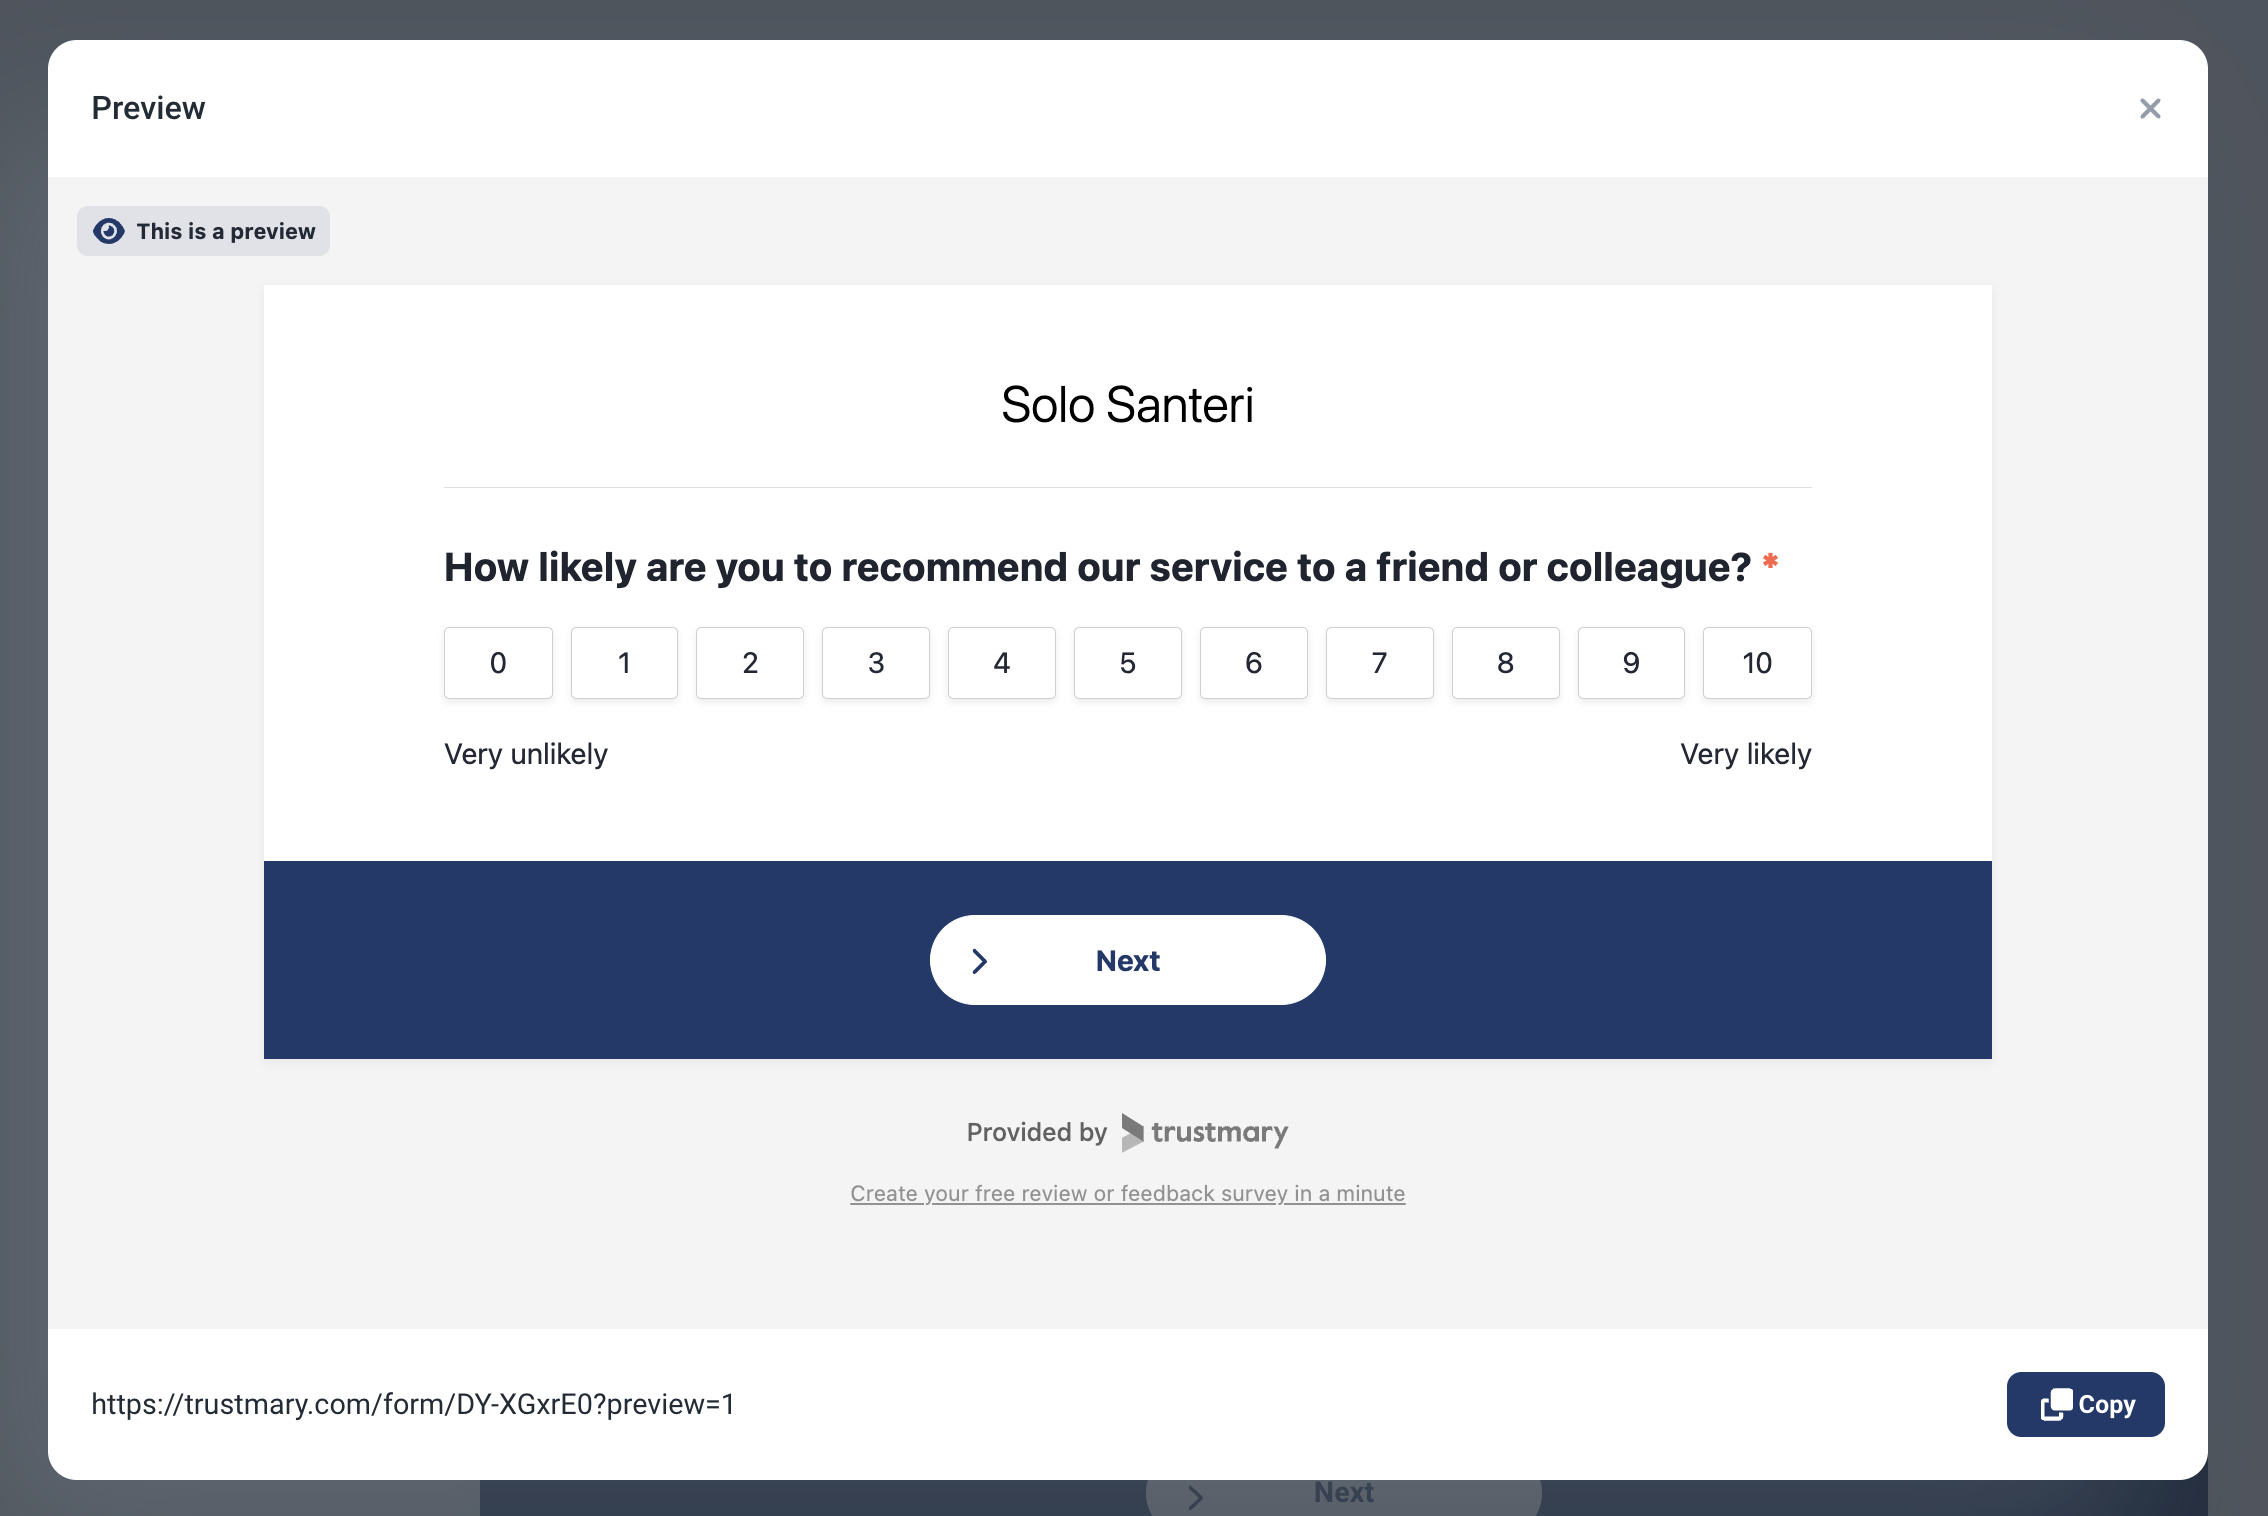
Preview tab
Here you can test out your survey before sending it. The survey works normally, and you can use the form as a respondee would, but the answers are not saved anywhere. You can copy the link to the survey from the bottom of the Preview window.
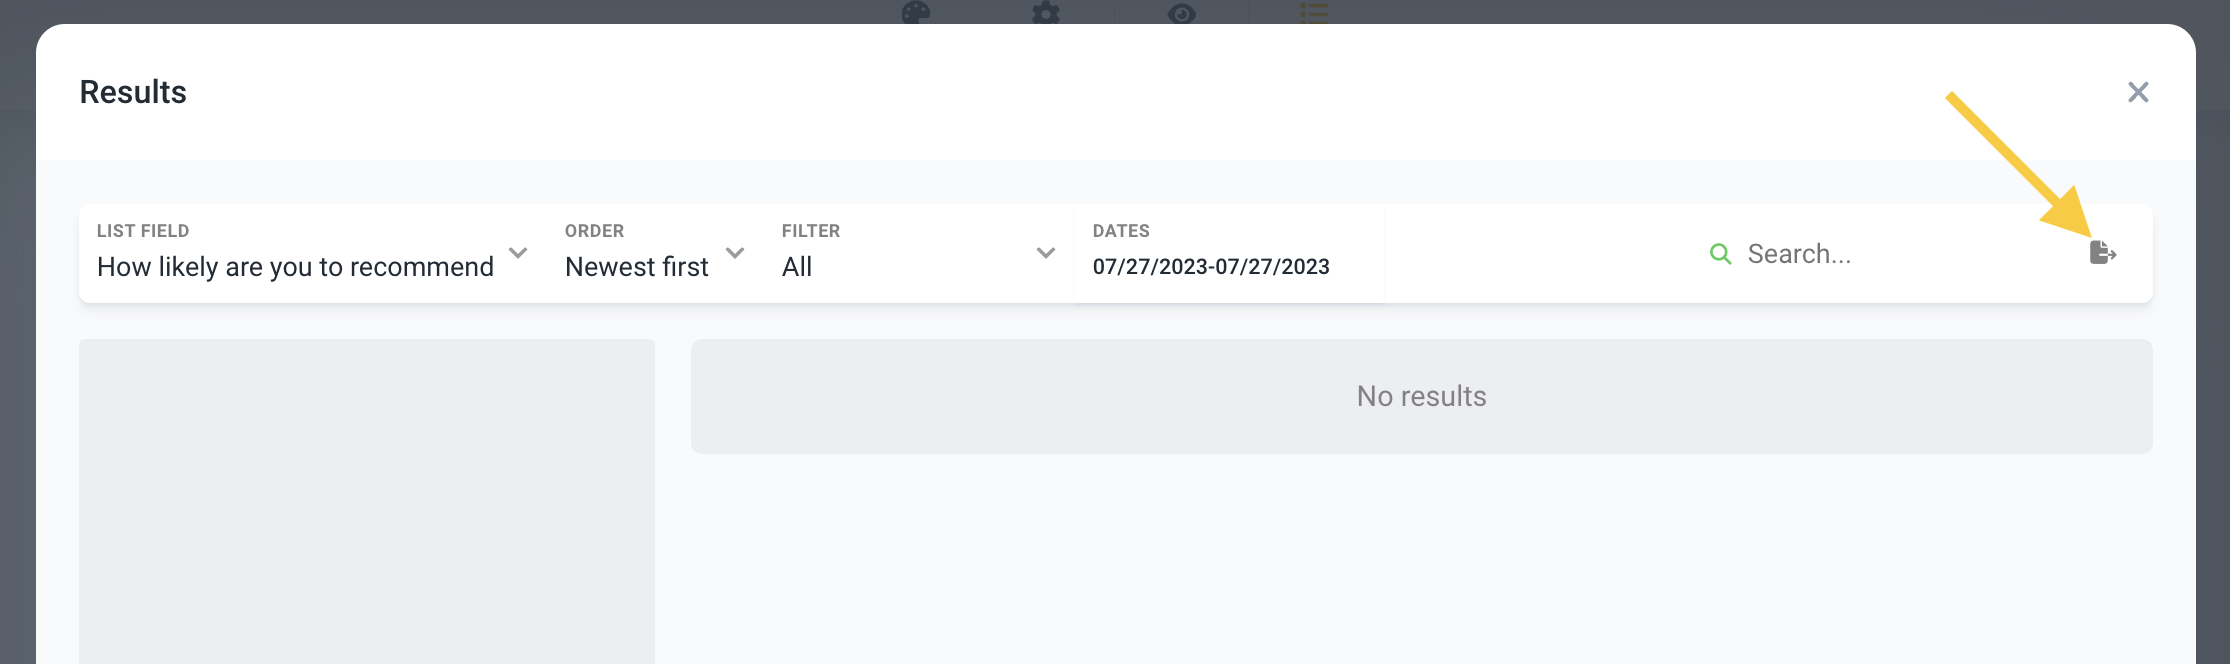
Results tab
In the Results tab you can see all the answers gathered with the survey. You can sort the reviews by selecting parameters at the top, and if you would like to use your response data in another application (Excel or Sheets for example), you can export the responses as an Excel file with the Export data button on the top right.