Trustmary leads to Pipedrive via Zapier
To use this type of integration, you will need a Zapier account. For sign up and log in, visit Zapier.com. If you have questions regarding Zapier itself, please consult the Zapier help documentation page.
Getting started
In this walkthrough, we'll show you how to create an automated flow that moves the leads you've collected with Trustmary to Pipedrive.
First, we'll need connect Trustmary with Zapier, so the two can communicate. Once the connection is good to go, we'll move on to creating the actual integration between Trustmary and Pipedrive. The integration consists of a trigger and an action, of which the trigger will be Trustmary and the action Pipedrive.
Exporting leads from Trustmary to Pipedrive
API key
To get data moving from Trustmary to Zapier and vice versa, you will need to connect the two through our API. This can be done simply by grabbing the API key from Trustmary and copying it into Zapier.
Start by navigating into Settings under your profile icon in Trustmary. Go to the Developers tab, and click the Add new button under the API keys section.

This opens up a window where you can set a name for your API key to tell it apart from others and copy the API key itself.

Once you have the API key, open Zapier. From Zapier's dashboard, navigate to My Apps and click the Add connection button.

Search for Trustmary, and click the first result like shown in the picture below.

Zapier will then open the next step into another browser window (if you don't see a window, check your browser's popup settings). Paste the API key you copied before into the text box in the popup window, and click "Yes, continue". The window will then close itself, and redirect you to the first browser window, where you can see you newly established connection.

Trigger
To start creating the integration itself, click on the Create zap button in Zapier. Once in the editor, search for Trustmary and select it as the trigger.

Next, you need to select a trigger event. This is the event that starts the automation when it is detected. You can select whichever one that fits your use case the best.

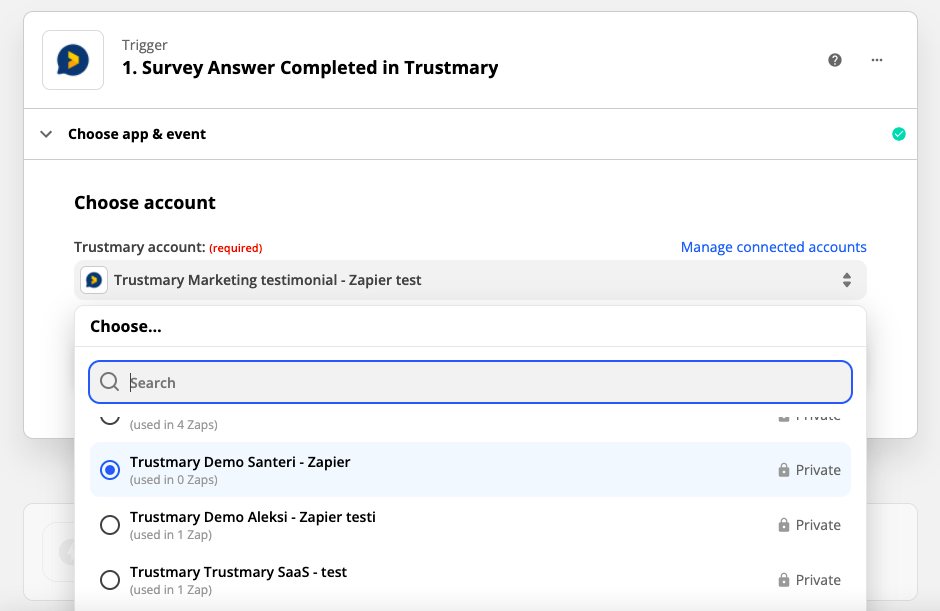
After that, you'll need to select a Trustmary account. If you have already connected the account succesfully in the first part of this walkthrough, it should be visible in the list.
If not, click the Connect a new account button below the list, and follow the aforementioned instructions.
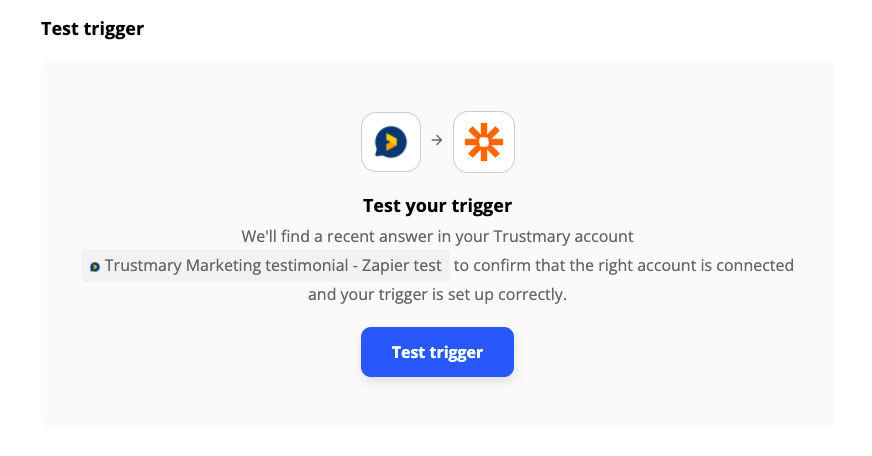
Then it's time to test that the trigger works. Simply click on Test trigger, wait a while, and verify that data was found. If there are problems with the trigger, Zapier will inform you on how to solve them.
Action
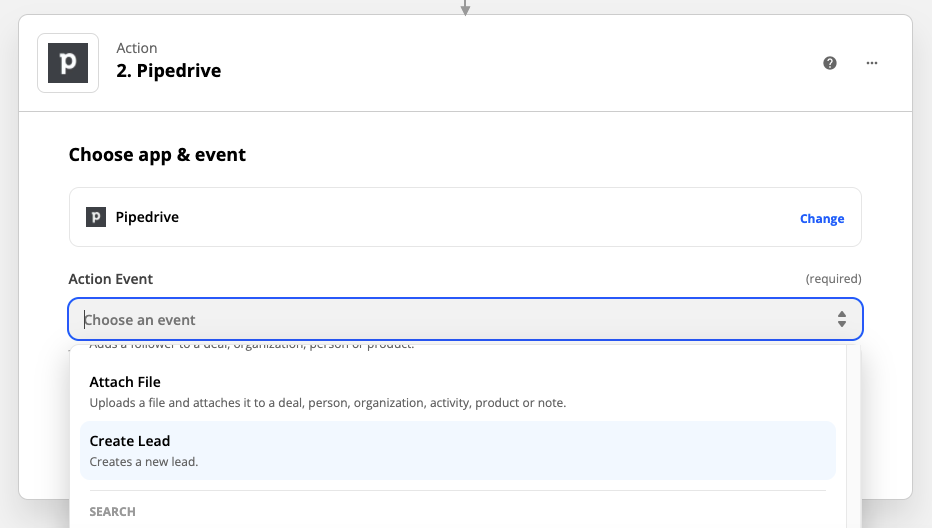
The setup for the action is quite similar to the trigger, which means you'll first need to find and select Pipedrive as your app for the action.

Once that is done, select an action event. This is the function the automation performs after it is triggered. You can select whichever one that fits your use case the best.
In the next phase you will need to connect your Pipedrive account to Zapier. You can choose a connected account from the list or connect a new one by clicking the Connect a new account button in the bottom of the list.
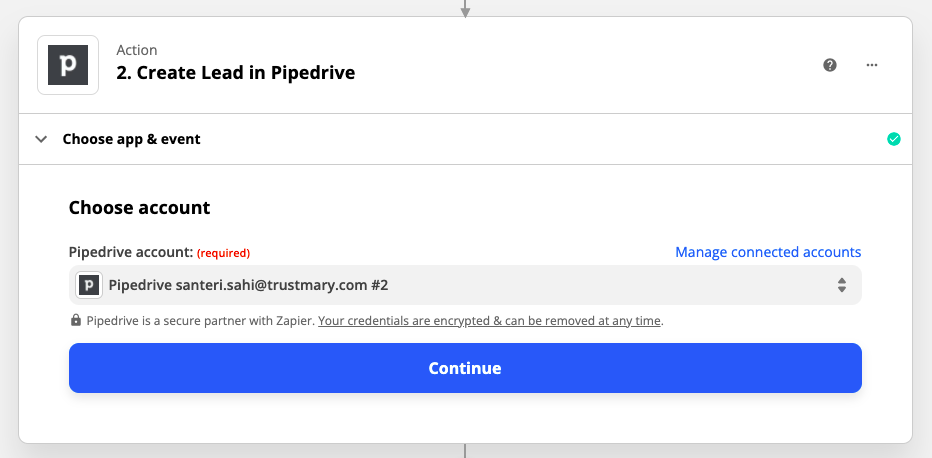
When connecting an account, Zapier will then open a new browser window (if you don't see a window, check your browser's popup settings) through which you can allow the use of the account.
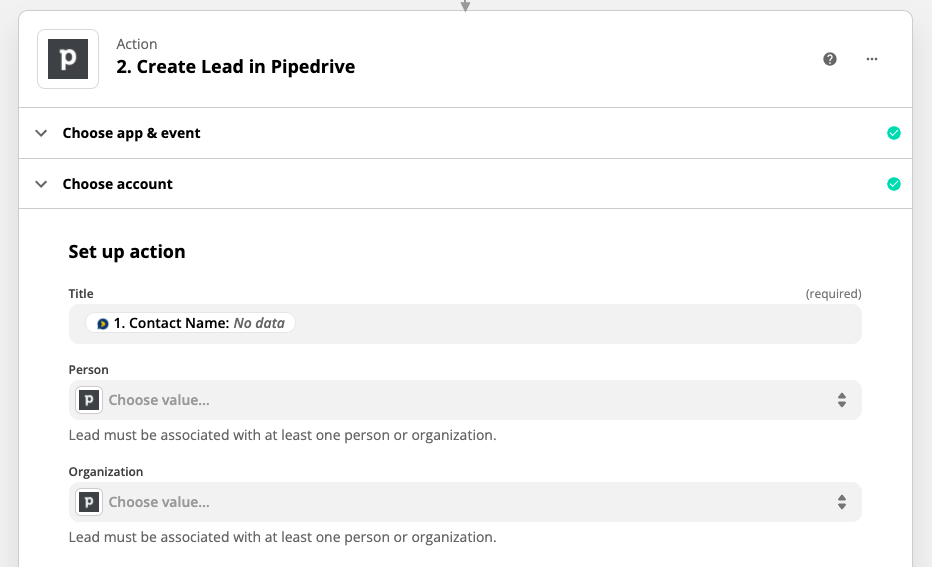
Now that the account is selected, you'll need to set up the action by selecting data points from Trustmary to fill the fields in Pipedrive. These fields can vary depending on the action you selected earlier.
After the action is set up, test it by clicking either one of the Test buttons.

If the tests yield no errors, you're ready to turn on the automation by clicking on the Turn on zap button.

Updated on: 26/03/2025
Thank you!